
This section describes how to create tasks in the OrgPlus Scheduler.
To add a new task to the scheduler:
1 Click the Data tab and select Scheduler from the Automation section.
The Scheduler Properties dialog box is displayed.
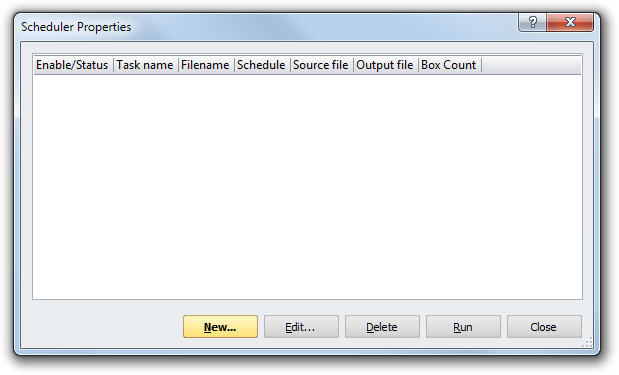
2 Click New to display the New Scheduled Task dialog box.
Note: You can select how files are displayed in the New Scheduled Task dialog box as follows:
Button |
Description |
|
Icons: Display an icon of each file with its name beneath. |
|
List: List the names of each file. |
|
Details: List detailed information for each file, including its size and the date it was last modified. |
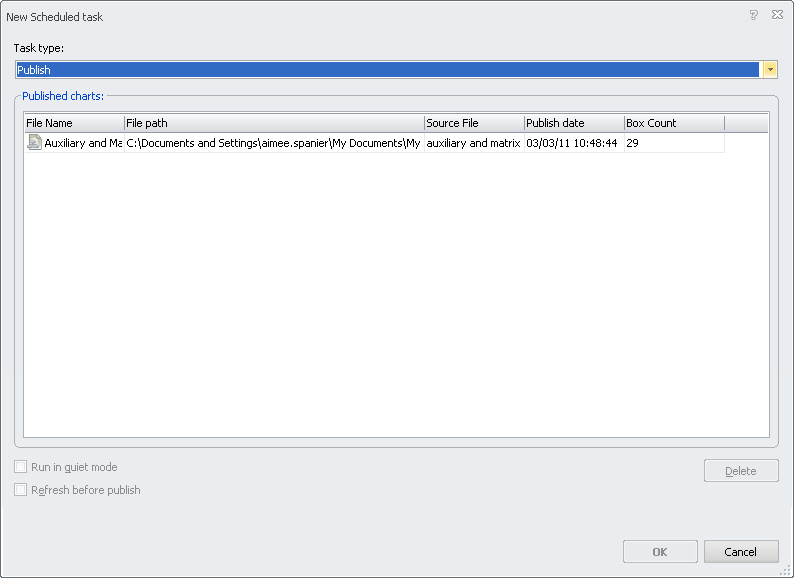
3 Select the Task Type from the drop-down menu (Refresh, Publish or Push) you want to perform.
4 Select a file for the task.
· If you are creating a Refresh task, select a file from the Refresh Charts area. Use the Add button to browse for a file.
· If you are creating a Publish task, select a file from the Publish Charts area. Only files that have been previously published are shown in the list.
· If you are creating a Push task, select a file from the Pushed Data area. Only files that have been previously pushed are shown in the list.
Note: Use the Delete button to remove unwanted files. Deleting an entry does not delete the underlying file.
5 If you are creating a Publish or Push task, the following options are available:
· Run in quiet mode: If this option is selected, no user warnings or errors are displayed when the task is executed. This option is intended for unattended usage (such as a computer in a server room).
· Refresh before publish/push: If this option is selected, a data refresh is performed before publishing/pushing. This option is only available if your chart was created from an external data source.
6 Click OK to display the AutoTask dialog box.
Note: These procedures only describe the scheduling options that are relevant to OrgPlus. The AutoTask dialog box is a component of Microsoft Windows. Refer to the Microsoft documentation for the options not covered.
7 Select the Schedule tab.
8 Click New to create a schedule for this task.
9 Configure the schedule as follows:
· Schedule Task: Sets the frequency of the scheduled task from the drop-down list. Additional options may become available depending on your selection, for example, if you want the scheduled task to run weekly, you also have the option of selecting how many times a week the task must run and on which days.
· Start Time: Sets the start time for the scheduled task.
10 Click OK to display the Scheduler Properties dialog box.

11 Click Close to close the dialog box.
Note: You can schedule any task to run immediately using the Run button.