Installation
In order to use OrgPlus you must install it on your hard disk. You cannot run OrgPlus directly from your original OrgPlus CD. You can copy the OrgPlus setup file to a network drive, if you intend to install on multiple computers.
After installing OrgPlus, you must register and unlock the application before you can start using it.
To install OrgPlus from the CD:
1 Insert the OrgPlus CD into your CD-ROM drive.
If the installation does not start automatically, click Run in the Windows Start menu and enter D:\OrgPlus\Setup (where D is the letter of your CD-ROM drive) and then press the Enter key to start the installation process.
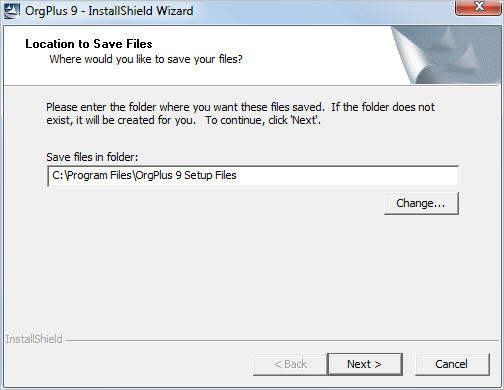
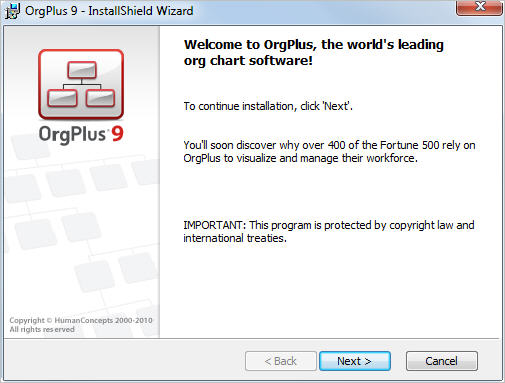
2 The InstallShield Wizard opens, showing the Welcome screen. Click Next and follow the instructions displayed in each dialog box presented by the installer.
3 Proceed through each step, and click Finish to complete the installation.
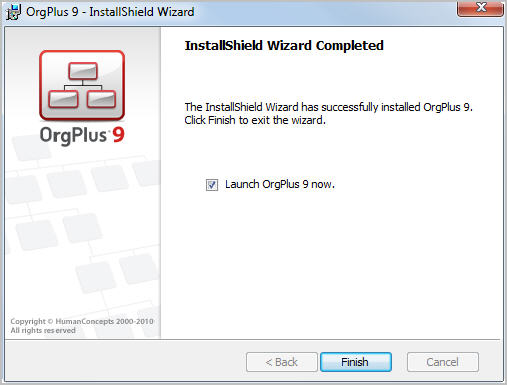
You have now installed OrgPlus on your system.
The OrgPlus icon  appears on your desktop, if you selected
this option.
appears on your desktop, if you selected
this option.
Note: Store the original OrgPlus CD in a safe place in case you have to reinstall.
To install OrgPlus from a network:
1 If you have an OrgPlus CD, copy the CD to a directory on your server.
2 Navigate to the folder containing OrgPlus and double-click the setup.exe file.
3 Follow the installation instructions described in the previous procedure.
Installation Options
By default, the OrgPlus installation process adds the OrgPlus Toolbar to your Microsoft Office applications—Word, Excel, PowerPoint, Visio, and other applications—enabling you to create OrgPlus charts from within Microsoft Office applications.
You can turn this feature off during installation by deselecting the option Enable OrgPlus Toolbar in MS Office Applications in the Destination Folder screen.