OrgPlus enables you to modify the layout of fields in boxes.
You can edit the layout of boxes in your chart.
To edit box layout:
1 With your chart open, select a set of boxes.
2 Click the Format tab and select Layout from the Box Properties section.
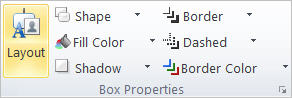
The Box Properties dialog box is displayed.
3 Click the Box Layout tab.
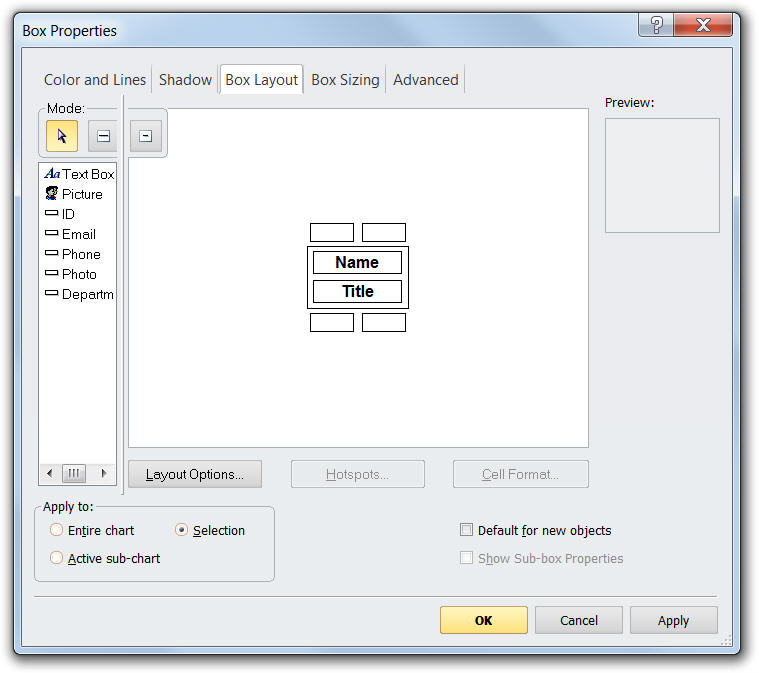
4 Modify the layout of your boxes as follows:
· Creating Multi-Record, Multi-Column Boxes
You can create boxes that contain multiple columns.
To add columns:
1 In the Box Layout tab, click the Layout Options button.
2 Click the Columns tab.
3 Select or enter the Number of Columns you want to include in the box.
Note: By default columns are automatically sized (Autosize is selected). When using automatic sizing in conjunction with vertical branch styles, you may want to select the Include Peers checkbox.
If you select the Fixed option, you can use the Show Column Lines checkbox to enable visual column size adjustment in the Box Layout dialog box.
Note: If boxes are set to a fixed size, you can also determine whether cells truncate longer contents. See Fixed Size Boxes.
4 To add columns to multi-record boxes, click the Multi-records tab. See the procedure that follows.
5 Click OK. You can now place fields in any cell in the Box Layout area.
You can create boxes that contain multiple columns and records.
To create a box that contains multiple records:
1 In the Box Properties dialog box, click the Layout Options button
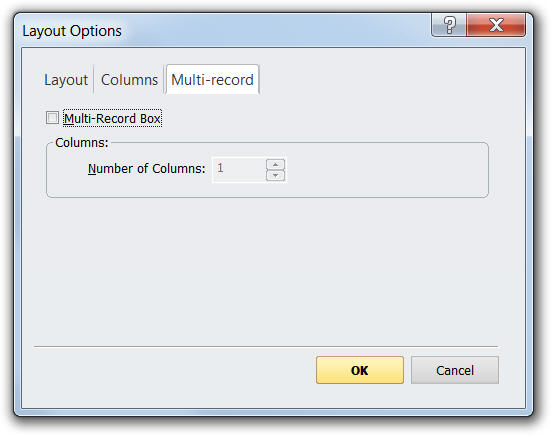
2 In the Layout options dialog box, click the Multi-Records tab.
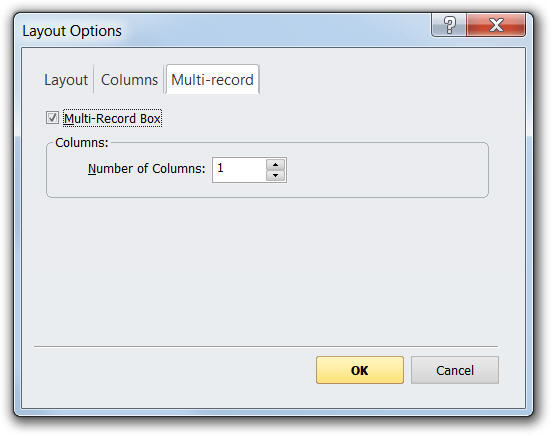
3 Click the Multi-Record Box check box, and enter or select the Number of Columns you want to appear in the box.
4 Click
OK to close the Layout options
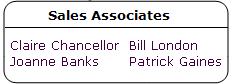
dialog box. A multi-record, multi-column box appears in the Box Properties
layout area. The corresponding box or boxes might look like the following:
You can merge two cells that are in different columns to achieve certain box layouts. You can also select how you want the cells to align vertically.
|
|
|
|
To merge cells:
1 Select two or more adjoining cells.
2 Click the Cell Format button.
3 Click the Options tab in the Cell Format dialog box.
4 Select the Merge Cells checkbox.
5 Click OK.
To align cells:
1 Select two or more adjoining cells.
2 Click the Layout Options button.
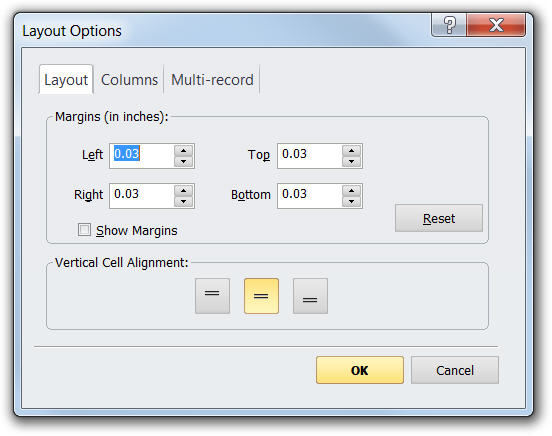
3 Click the Layout tab.
4 Select Vertical Cell Alignment option you want to use.
5 Click OK to close the Layout Options dialog box.
6 Select whether you want to apply these alignment options to the Entire Box or just the Selection.
7 Click OK.
You can display a label with any field (Name: Smith, Joy).
To display or hide a label:
1 Choose a field in the Box Layout area.
2 Click the Cell Format button.
3 Click the Options tab in the Cell Format dialog box.
4 Check or uncheck the Show Label checkbox.
5 Click OK.
Note: In the Options tab, you can also change the character used as the label separator. You can even modify a label name if needed. You can also use a Text Box to display a field label. A text box can be positioned above, below, left or right or any field.
To make a Text Box into a Label:
1 Add a Text Box.
2 Click the Cell Format button.
3 Select the Field Label checkbox.
To control cell visibility:
1 In the Cell Format box, click the Options tab.
2 Click Hide cell when condition is true selection box.
3 Select the condition to check to determine visibility:
· To select a predefined condition, use the Condition dropdown menu.
· To add a new condition, click the Add button. See Creating a Conditional Format for more information.
· To edit a condition, select it in the dropdown menu and click the Edit button. See Modifying Conditional Formats for more information.
· To delete an existing condition, select it in the dropdown menu and click the Delete
4 Click Apply.
For more information on using conditions, see Conditional Formatting.
You can draw horizontal or vertical lines between fields. Two-line formats are available: one that extends to the border of the box and one that leaves a gap between the end of the line and the border.
To draw lines between rows or columns in the box:
1
Choose a Line tool (![]() or
or ![]() ).
).
2
Position the cursor between a row or column (the cursor is
represented by the ![]() symbol
for horizontal lines and by the
symbol
for horizontal lines and by the ![]() symbol for vertical lines), and click
to place the line in the box.
symbol for vertical lines), and click
to place the line in the box.
To change the line type:
· Select a line tool and click the line you want to change.
To change the line type or remove a line:
· Click an existing line with the line tool.
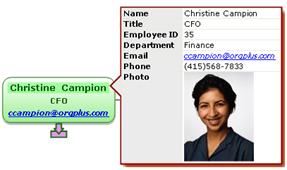
You can make any displayed field a hotspot. When you move the mouse cursor over a hotspot, OrgPlus highlights the hotspot field and displays the profile assigned to the box.
You can edit chart information by modifying the profile fields, and you can follow any hyperlink in the profile. For example, if you edit a field in the profile that also appears in the box, OrgPlus changes that field in the box to match your edits. Clicking a hyperlinked e-mail address in the profile launches your e-mail application.
To create or clear a hotspot:
1 Choose a field in the Box Layout area.
2 Click the Hotspots button.
3 Check the Make Hotspot checkbox in the Hotspot Properties dialog.
4 Select a profile using the Hotspot Profile selector.
5 Specify whether you want the hotspot to apply to the selected field or the entire box.
6 Click OK.
Note: See Working with Profiles for more information on creating profiles.
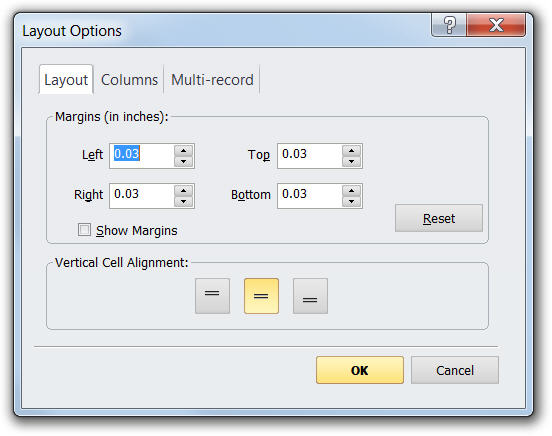
To adjust margins:
1 Click the Layout Options button.
2 In the Layout tab, adjust the Left, Right, Top, and/or Bottom margins, as required.
3 To enable visual margin adjustment in the Box Layout dialog box, select the Show Margins checkbox.
4 Select the Vertical Cell Alignment option you want to apply.
5 Click OK.