
OrgPlus allows you to compare two charts and generate reports that describe the differences. You can display two different types of reports, both of which are viewable in Microsoft Excel. A standard report shows the comparative information in a standard Excel worksheet format.
The Verbose Report displays detailed information in a clear report format.
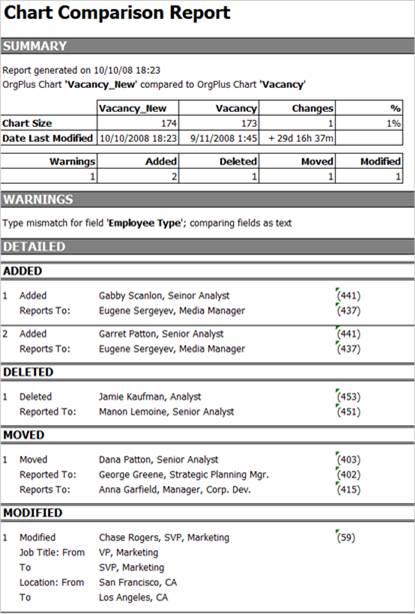
Note: To view either comparison in Excel, you must select the option View Delta Report.
To compare two charts:
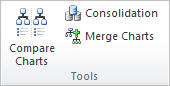
1 Click the Data tab and select Compare Charts from the Tools section.
The Compare Charts dialog box is displayed.
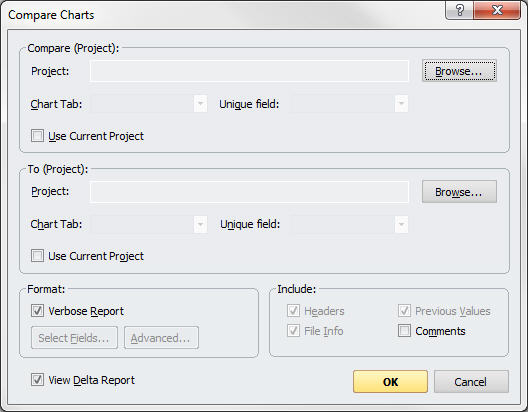
2 Select the first chart you want to compare by clicking the Browse button next to the Project field, and selecting any OrgPlus file.
OR
Select Use Current Project to select the displayed chart.
3 If the selected project contains multiple tabs, use the Chart Tab drop-down list to select a chart.
4 Use the Unique Field drop-down list to select the field (in the first chart) that will be used to match boxes between the two charts (e.g., email address or employee ID).
5 Select the second chart you want to compare by clicking the Browse button next to the Project field, and selecting any OrgPlus file.
OR
Select Use Current Project to select the displayed chart.
6 If the second project contains multiple tabs, use the Chart Tab drop-down list to select a chart.
7 Use the Unique Field drop-down list to select the field (in the second chart) that will be used to match boxes between the two charts (e.g., email address or employee ID).
8 Under Format, select the Verbose Report option to generate a complete and detailed report comparing the two charts.
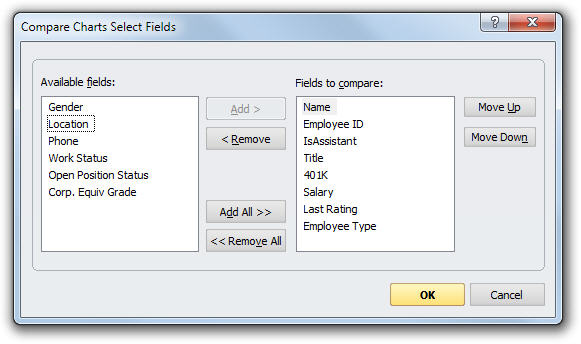
9 Click the Select Fields button to select which fields to include in the report.
10 To exclude Comments from the report, deselect the Comments option under the Include section.
The default setting is to include comments. Notice that these other options under Include are disabled if Verbose Report is selected.
OR
To generate a standard report as a worksheet in Excel, report deselect Verbose Report.
11 Click the Select Fields button to specify which fields to include.
12 Click the Advanced button to select a reference project, selecting either the current project or a different file, and a Chart Tab and/or Unique Field, if applicable.
13 If you are generating a standard report, select the information you want to Include in the delta report:
· Headers: Output field names in the first row of the report.
· File Info: Output path and file name information in the report.
· Previous Values: Include columns showing the previous value of a field in the delta report.
· Comments: Include a column showing how comments differ between the two files. (This is available for Verbose or standard reports.)
14 Deselect the View Delta Report checkbox if you do not wish to display the report in Excel after comparison.
15 Click OK and specify a file name and file type for your comparison report.
16 Click Save. Excel opens (if you left the View Delta Report selected), displaying either the Verbose or standard report, depending on which option you selected.