The Photo Manager can import pictures into chart boxes. The Pictures fields in each box can be automatically populated from an external source. This is useful if you maintain a set of pictures with a logical naming convention. These pictures may be stored on a local or network drive, HTTP or FTP server.
Photo Manager identifies photos according to a flexible naming convention. The same naming convention must be used for identifying all pictures.
To import/refresh photos to your chart:
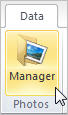
1 With your chart open, click the Data tab and select Manager from the Photo section.
If the chart has no Pictures fields defined, the following Photo Manager message is displayed.
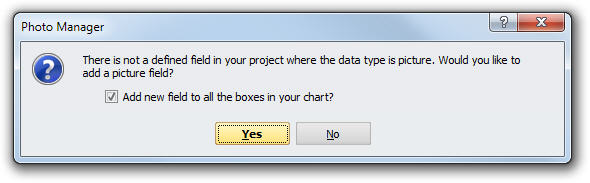
2 Select Add Field to all the boxes in your chart if you want to add new Pictures fields to all the boxes in your chart, and click Yes to continue. Click No to cancel the action.
The Photo Manager dialog box opens.
3 Define your settings as follows:
· Choose photo column: Select a destination field. Only fields of type Photo are listed.
· Target location: Select the source location of the photo files (Disk/Network, FTP or HTTP). Enter the path or use the browse button to specify a location.
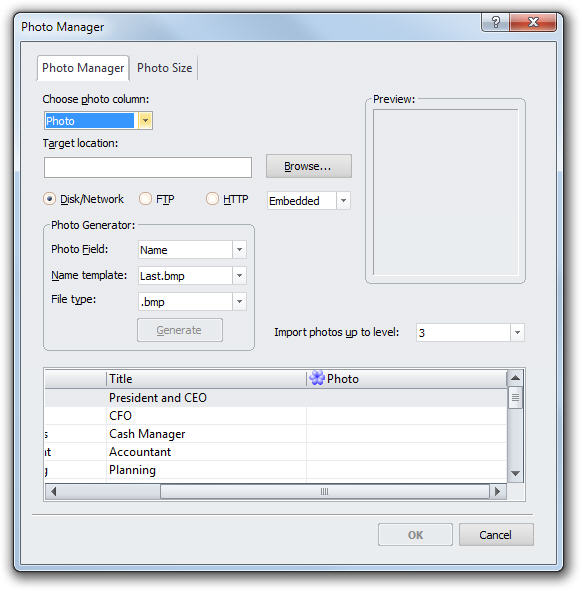
Note: You can specify whether to embed or link picture files to your chart. Linked files result in a smaller file size; however, if you share your OrgPlus file with other users they may not have access to the linked picture files.
· Photo Generator: Specify the naming convention used to name the source pictures files:
· Pictures Field: Select a field to be used to generate the source picture file names. For example, source files can be named according to the contents of the Name field or the Title field.
· Name template: Select how the picture file name should be constructed. For example: if a field has the name Adam Smith, selecting:
· Last.bmp generates Smith.bmp.
· First.bmp generates Adam.bmp.
· FLast.bmp generates ASmith.bmp.
· FirstL.bmp generates AdamS.bmp.
· FirstLast.bmp generates AdamSmith.bmp
· File type: Select the file type from the drop-down list.
· Import photos up to level: Select the number levels for the photo manager to import.
4 Click Generate to match boxes in the chart with picture files from the source. The results of this action are shown in the table at the bottom of the dialog box.
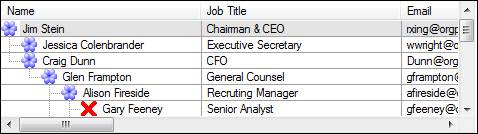
The ![]() symbol indicates that a match
was found. The
symbol indicates that a match
was found. The ![]() symbol indicates a missing photo.
symbol indicates a missing photo.
Note: You can view a preview of the picture that corresponds to a row by selecting that row in the table.
5 Click the Photo Size tab if you want to change the default scale, size and alignment before importing each picture.
Note: Importing large photos into your chart can affect performance. We recommend that you create smaller versions of photos before importing.
6 Click OK to import the photos into your chart.